


Why it can be okay to use the Chirp Wheel+ on your lower back:
There is a lot of debate about whether rolling out your lower back is good or bad. Here are the facts:
- Most lower back pain is caused by mechanical deformation, such as pain coming from the spine, intervertebral discs, or surrounding soft tissues. One of the most common causes of this type of pain is an arch in the lower back. Some say rolling out your lower back is bad because in order to release muscle tension, you must find the tender spot and stop and hold pressure on that spot. If you are tensing your muscles or rolling too quickly, then you will not have massaged deep enough for muscle tension release. However, if you do manage to relax while rolling out the tender spot, you might force even more of an incorrect arch in your lower back that causes more pain.
- If your lower back pain is caused by conditions that aren’t mechanical, like spondyloarthritis, rolling directly on your spine might make your condition worse. That is why you should always consult your doctor before you start a new exercise regimen. However, there are certain tools for lower back pain, like the Chirp Wheel+, that do not put pressure directly on the spine.
- Rolling on the upper back is always considered okay because the organs have bony protection from the rib cage. However, in your lower back, the kidneys and liver aren’t protected by bones but are protected by large muscles, which is why you need to be careful if you do decide to roll out your lower back.
What can you actually do for your lower back?
One of the best things you can do for lower back pain is to roll out your muscles around the lower back like hip flexors, glutes, calves, etc. Below are some stretches you can do using the Chirp Wheel+ that are safe for your lower back.
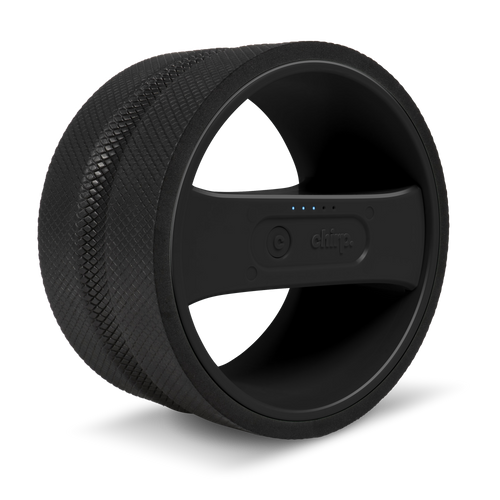
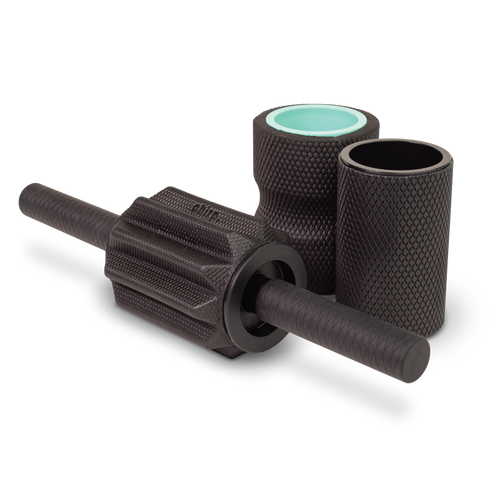
Another thing you can do for your back is to use the right tool. Don’t use a foam roller on your lower back, use a smaller tool like the Deep Tissue Chirp Wheel+ to target specific hard-to-reach areas. The Chirp Wheel+ will make it easier and safer to find the tender spot that needs work. Chirp even has smaller tools like our Myofascial Massage Balls or our Acupressure Massage Pillow & Mat Set that can be used to target trigger points and relax. The Chirp Wheel+ is safe to use for your lower back because it doesn’t put pressure directly on the spine because of its spinal canal. Before using any new exercise regimen, you should consult your doctor. If using any type of tool causes you pain, stop. Listen to your body and your doctor.
Here are some exercises using the Chirp Wheel+ that are considered safe when working with lower back pain:
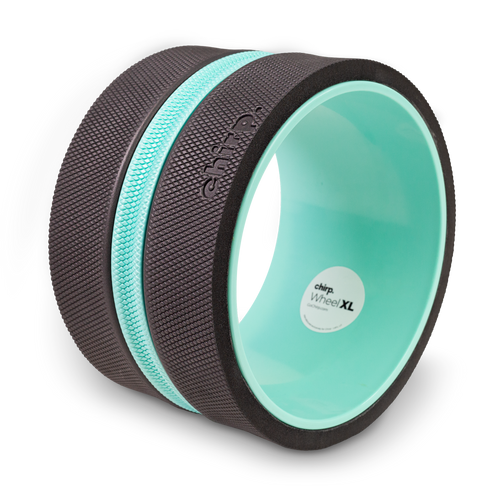
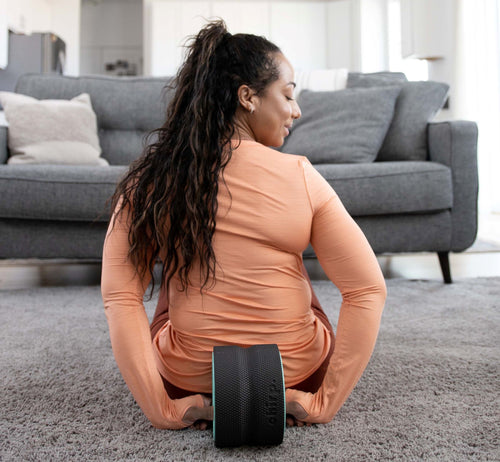
Resting on any size Chirp Wheel+:


- Simply rest against the Chirp Wheel+ to start and loosen up the muscles in your lower back.
- If you feel your body is okay with it, you can lift your hips up and roll back and forth on the wheel.
Angled Release

- Start by sitting on the ground, leaning against the Deep Tissue Chirp Wheel+.
- Angle yourself to the left as you place the wheel under your left side, bend your right knee for leverage, and gently lift yourself onto the wheel.
- Remember to keep both feet planted, rock back and forth. If it is too much pressure, you can place your hand near the area being massaged and lift body pressure off the wheel with your hand. Or you can try this with a gentler sized wheel. You can also extend your left leg to put more pressure on your left side.
- Do this on both sides.
Supported Bridge Pose

- Place the wheel to the side to begin. Lie on your back with your arms at your sides and bend your legs so your feet are planted close enough to your hands so that you can touch your ankles.
- Grab the wheel, lift your hips, and slide the wheel under your tailbone. The wheel should not be resting on your lumbar spine; it should be resting on your tailbone. The tip of your tailbone should be hanging off the edge of the wheel towards your heels.
- Relax in this position with your arms at your sides on the ground and the bottoms of your feet planted to the floor. If your back is sensitive, let your knees fall to the center. Breathe deeply in this position for as long as desired.
- When you are ready to leave this position, lift your hips and remove the wheel from under you. Then sit back up.
Glutes Release

- Place the wheel behind you. Lift your bottom onto the wheel so the right side of your bottom is on the wheel.
- Keeping your hands and feet on the floor, simply rock up and down the length of the glutes.
- If you feel a tight spot, stop and work into it more.
- Do this on both sides of your bottom.
Side Glutes Extra Release

- Place the wheel behind you. Lift your bottom onto the wheel so the right side of your bottom is on the wheel. Straighten your right leg. Then lift your left leg by crossing it over your right leg. Adjust the wheel if necessary so that it rests on the right side of your butt.
- Use your right hand to support yourself on the ground and place your left hand on your hip for added support.
- Gently rock back and forth over the muscle. For added pressure, lift your straightened leg off the floor.
- Do the same thing on the other side.
Piriformis Release

- Place the wheel behind you. Lift your bottom onto the wheel so the right side of your bottom is on the wheel. Lift your right foot up and rest it on the top of your left thigh.
- Rock back and forth over the whole muscle.
- Angle your leg down or up to experiment and feel different areas that need released. Rock back and forth.
- Do this on both sides.
Hip Flexor Release

- Start on your hands and knees. Straighten your left leg back and tuck your toes under, and place the wheel under the top of your left thigh. Angle your bent right leg outwards from your body.
- You can support yourself with straight arms and hands on the ground or with your forearms on the ground.
- Roll along your hip flexor with gentle small motions. Try rocking from side to side or lifting your straight leg into a bend to access different parts of your muscles. For more pressure, try keeping your leg straight but lifting it a few inches off the ground.
- Do this on both sides.
Hamstrings Release

- Sit on your bottom with the wheel under your bent legs. Place the wheel under your right hamstring and lean back on your hands for support.
- Straighten your right leg and roll back and forth along the length of your hamstring. Don’t roll over the back of your knee.
- If you want to make the pressure more intense, you can place your bent knee behind and to the side of your body so you are sitting directly on the wheel.
- Do this on both sides.
References
Elkaim, Y. (2019, September 1). 5 Foam Roller Moves to Soothe Back Pain. Retrieved from https://blog.paleohacks.com/foam-roller-for-back-pain/#.
Furthermore. (n.d.). Roll out back pain. Retrieved from https://furthermore.equinox.com/articles/2018/06/foam-rolling-for-back-pain.
Stull, K. (2017, May 5). Should You Foam Roll the Low Back? Retrieved from https://blog.nasm.org/ces/foam-roll-low-back/.
Will, J. S., Bury, D. C., & Miller, J. A. (2018, October 1). Mechanical Low Back Pain. Retrieved from https://www.aafp.org/afp/2018/1001/p421.html.
YogiApproved. (2017, August 25). 15-Minute Foam Roller Tutorial for Low Back Pain Relief. Retrieved from https://www.youtube.com/watch?v=H7wSCpnbfB4.