

Some of the poses in this post might look intimidating, but I tried them all. And if I can do it, you probably can too. I’m not a flexible person, but I was able to do them and it felt good! The wheel provides a great way to assist you in stretching and doing things you couldn’t have done without it. These poses will help improve the flexibility of your back, legs, and arms. Doing these stretches often can help reduce tension and improve flexibility. The great part is, gravity does most of the work. So let’s get started! Note: Try doing the poses in the order they are in this post to ease you into the stretching routine.
Back Flexibility
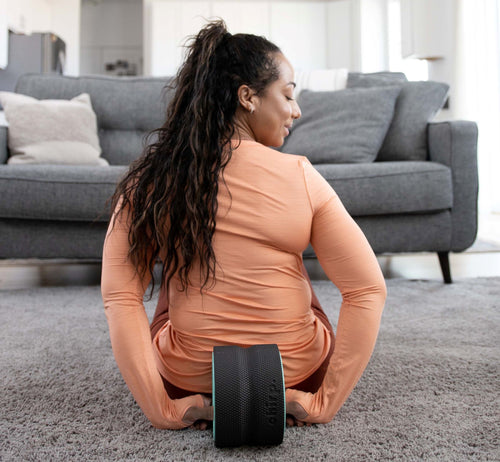
Roll out on the Chirp Wheel to help increase your back’s flexibility.

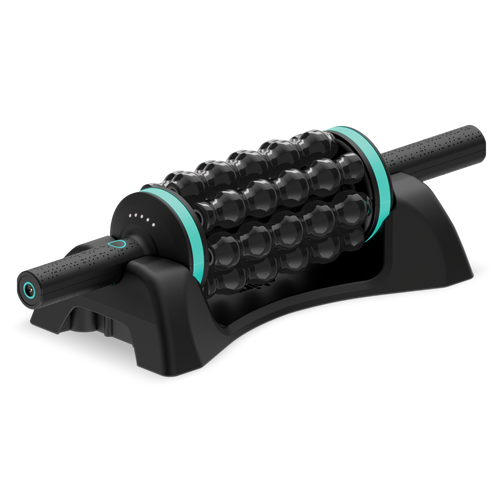
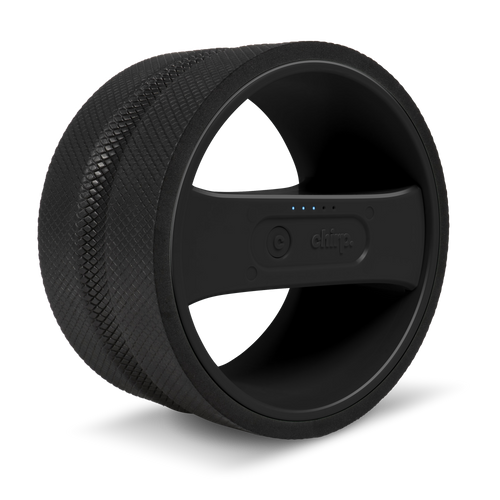
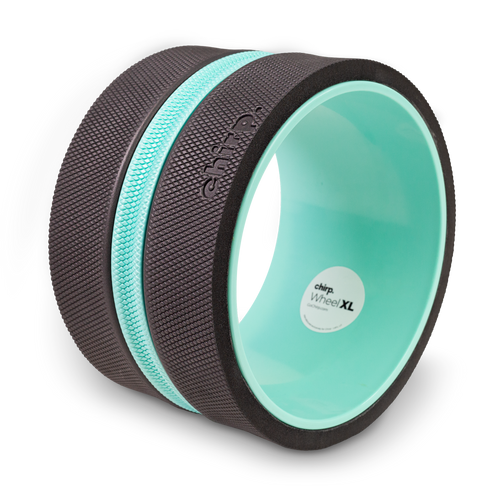
How to use the Chirp Wheel+:
Sit and lean back.
- Sit on the ground with knees bent and feet firmly planted.
- Place the Chirp Wheel+ against your back in alignment with your spine. Take some time to center yourself and find balance even on the ground.
- Lean back gently to transfer your weight to the wheel. Relax and find balance in this position before lifting your hips.
Lift hips.
- Rest your hands on the ground, the wheel, or your chest for balance. Do whichever feels the most comfortable for you.
- Lift your hips upward while relaxing your back. Find balance with your hips lifted before rolling on the wheel.
- Don’t tense up! The more you relax your back, the better it will feel.
Roll back and forth.
- Begin to roll back and forth on the wheel by bending and straightening your legs. Use your hands for balance. If one spot on your back needs an extra massage, stop rolling to put pressure on that spot. Or switch to a smaller wheel.
- Roll out for 3 to 5 minutes. Length of preferred use will vary by individual.
- Relax your head back to avoid neck pain.
The Child’s Pose
The Child’s Pose with the help of the wheel can provide a deeper stretch for your shoulders.

Use the wheel to deepen your stretch in the Child’s Pose. Simply place the wheel under your hands and roll it forward as you pull your heart towards the earth.
- To begin, get on your hands and knees.
- Bend your knees to put your butt to the heels of your feet, and reach your hands forward.
- For the regular pose, let your hands rest on the ground. If you want a deeper stretch, let your hands rest on the top of the Chirp Wheel+.
- Let your body sink into the ground.
Resting pose

Lean back against the wheel during the Resting Pose for a deep stretch throughout your back.
How to do the Resting pose:
- Sit down on your yoga mat criss-cross applesauce style.
- Place the wheel at the base of your back and lean back.
- If it’s easier on your back, lift your knees up and place your feet on the ground as you lean back.
Fish pose

How to do the pose:
- Sit down on your yoga mat.
- Place the wheel at the base of your back and lean back to begin to roll to your upper back.
- Let your arms fall to the ground and straighten your legs, letting them sink into the ground as well.
Upward-Facing Two-Foot Staff Pose

Note: If you are able, keep your hands on the wheel for a deeper stretch throughout your chest, like pictured below.

How to do the pose:
- Sit down on your yoga mat.
- Place the wheel at the base of your back and lean back to begin to roll to your upper back.
- Grab the wheel with your arms up by your ears. Roll back until your head touches the earth. Relax.
Half Pyramid Pose

Use the wheel in this pose to give your hamstrings an extra stretch by placing the wheel under your front leg.
How to do the pose:
- Kneel on the ground, lifting your shoulders high.
- Bring your right foot forward, keeping it straight. (In the full pose, both legs are straight, but the half pose can help you stretch to be ready for the full pose.)
- Place the wheel under your front ankle for an extended stretch and to help you prepare for the full pose.
Lizard Lunge

Use the wheel under your back foot for an extra stretch in this pose.
How to do the pose:
- Start in a plank position. Place the wheel under your left foot.
- Lunge your right leg forward to the right side of your hands.
- Drop your body down so you rest on your forearms, letting your back knee drop to the ground if necessary.
Balancing leg stretch

How to do the pose:
- Stand up straight with the wheel in your right hand.
- Hook your right foot onto the wheel and lift your right leg up with the wheel so your leg is parallel to the ground.
- Lift your arms so they are parallel to the ground for balance. You can lift your leg as high as is comfortable for you with the wheel to stretch the muscles on the back of your leg.
- Do this on both sides.
Quad and tricep stretch

How to do the pose:
- While standing with the support of a steady object, hook your right foot into the wheel behind your body.
- Bend your right arm up over your shoulder. Pull the wheel up with your right hand by holding onto the wheel.
- Lift your leg up as high as you can for a deep stretch.
Hamstring and calf stretch

Note: The longer you leg gravity work, the deeper you will be able to go. Make sure to take breaks to equalize blood flow throughout your body.

How to do this stretch:
- Roll on the wheel to loosen up your muscles.
- When you feel ready, roll all the way back so your shoulders are resting on the ground and your hips are resting on the wheel.
- Lift your feet off the floor, keeping them straight.
- Move your legs in circles starting from the top, moving them outwards to the sides, and pulling them toward your head. You can pause and rest in any position that feels good to you.
- Hold onto the wheel for support with your hands or do this in front of a sturdy object you can hold onto.
Hip stretch

How to do this stretch:
- Roll on the wheel to loosen up your muscles.
- When you feel ready, roll forward so your hips touch the ground and your knees are bent. You can have your feet flat on the floor or just the balls of your feet on the floor.
- Lean back using your arms to help you stretch up and over the wheel. Rest your head back.
Quad and hip stretch

How to do this stretch:
- Roll on the wheel to loosen up your muscles.
- When you feel ready, roll back so your shoulders almost reach the ground. Hold yourself up by resting your hands on the ground like a backbend. Or let your shoulders rest on the ground. Do what feels right for you.
- Straighten your legs and rest.
- When you have your balance, bend one leg up on top of you. Try to pull your knee toward your head.
- Do this on both sides. You can also try lifting both legs up together.
Arm and upper back stretch

How to do this stretch:
- To begin, get on your hands and knees.
- Let your elbows rest on the top of the Chirp Wheel+.
- Let your body sink into the ground. Pull your chest toward the ground.
References
Briana, A. (2018, November 21). How to use a yoga wheel. Retrieved from https://www.youtube.com/watch?v=D8-nAyD0OCc
Williams, L. (2020, June 3). 7 ways to use a yoga wheel. Retrieved from https://www.verywellfit.com/ways-to-use-a-yoga-wheel-4156830
Yoga EVO. (2017, November 9). Yoga EVO yoga wheel video 3. Retrieved from https://www.youtube.com/watch?v=N8LuqfVq9lQ